Upside-Down Harvest Apple Tart


Y’all… It’s Fall. At least it is here in my kitchen. “Augtober”, if you will. And that means I got down to business with the Fall bakes finally, and am feeling myself in ways that I just don’t in May-July. I wanted to kick off the season with something sweet, simple, and beautiful, and I think this one hit all the marks. It made my kitchen smell exactly how you would imagine it should, and got my heart ready for the cool weather to move in.
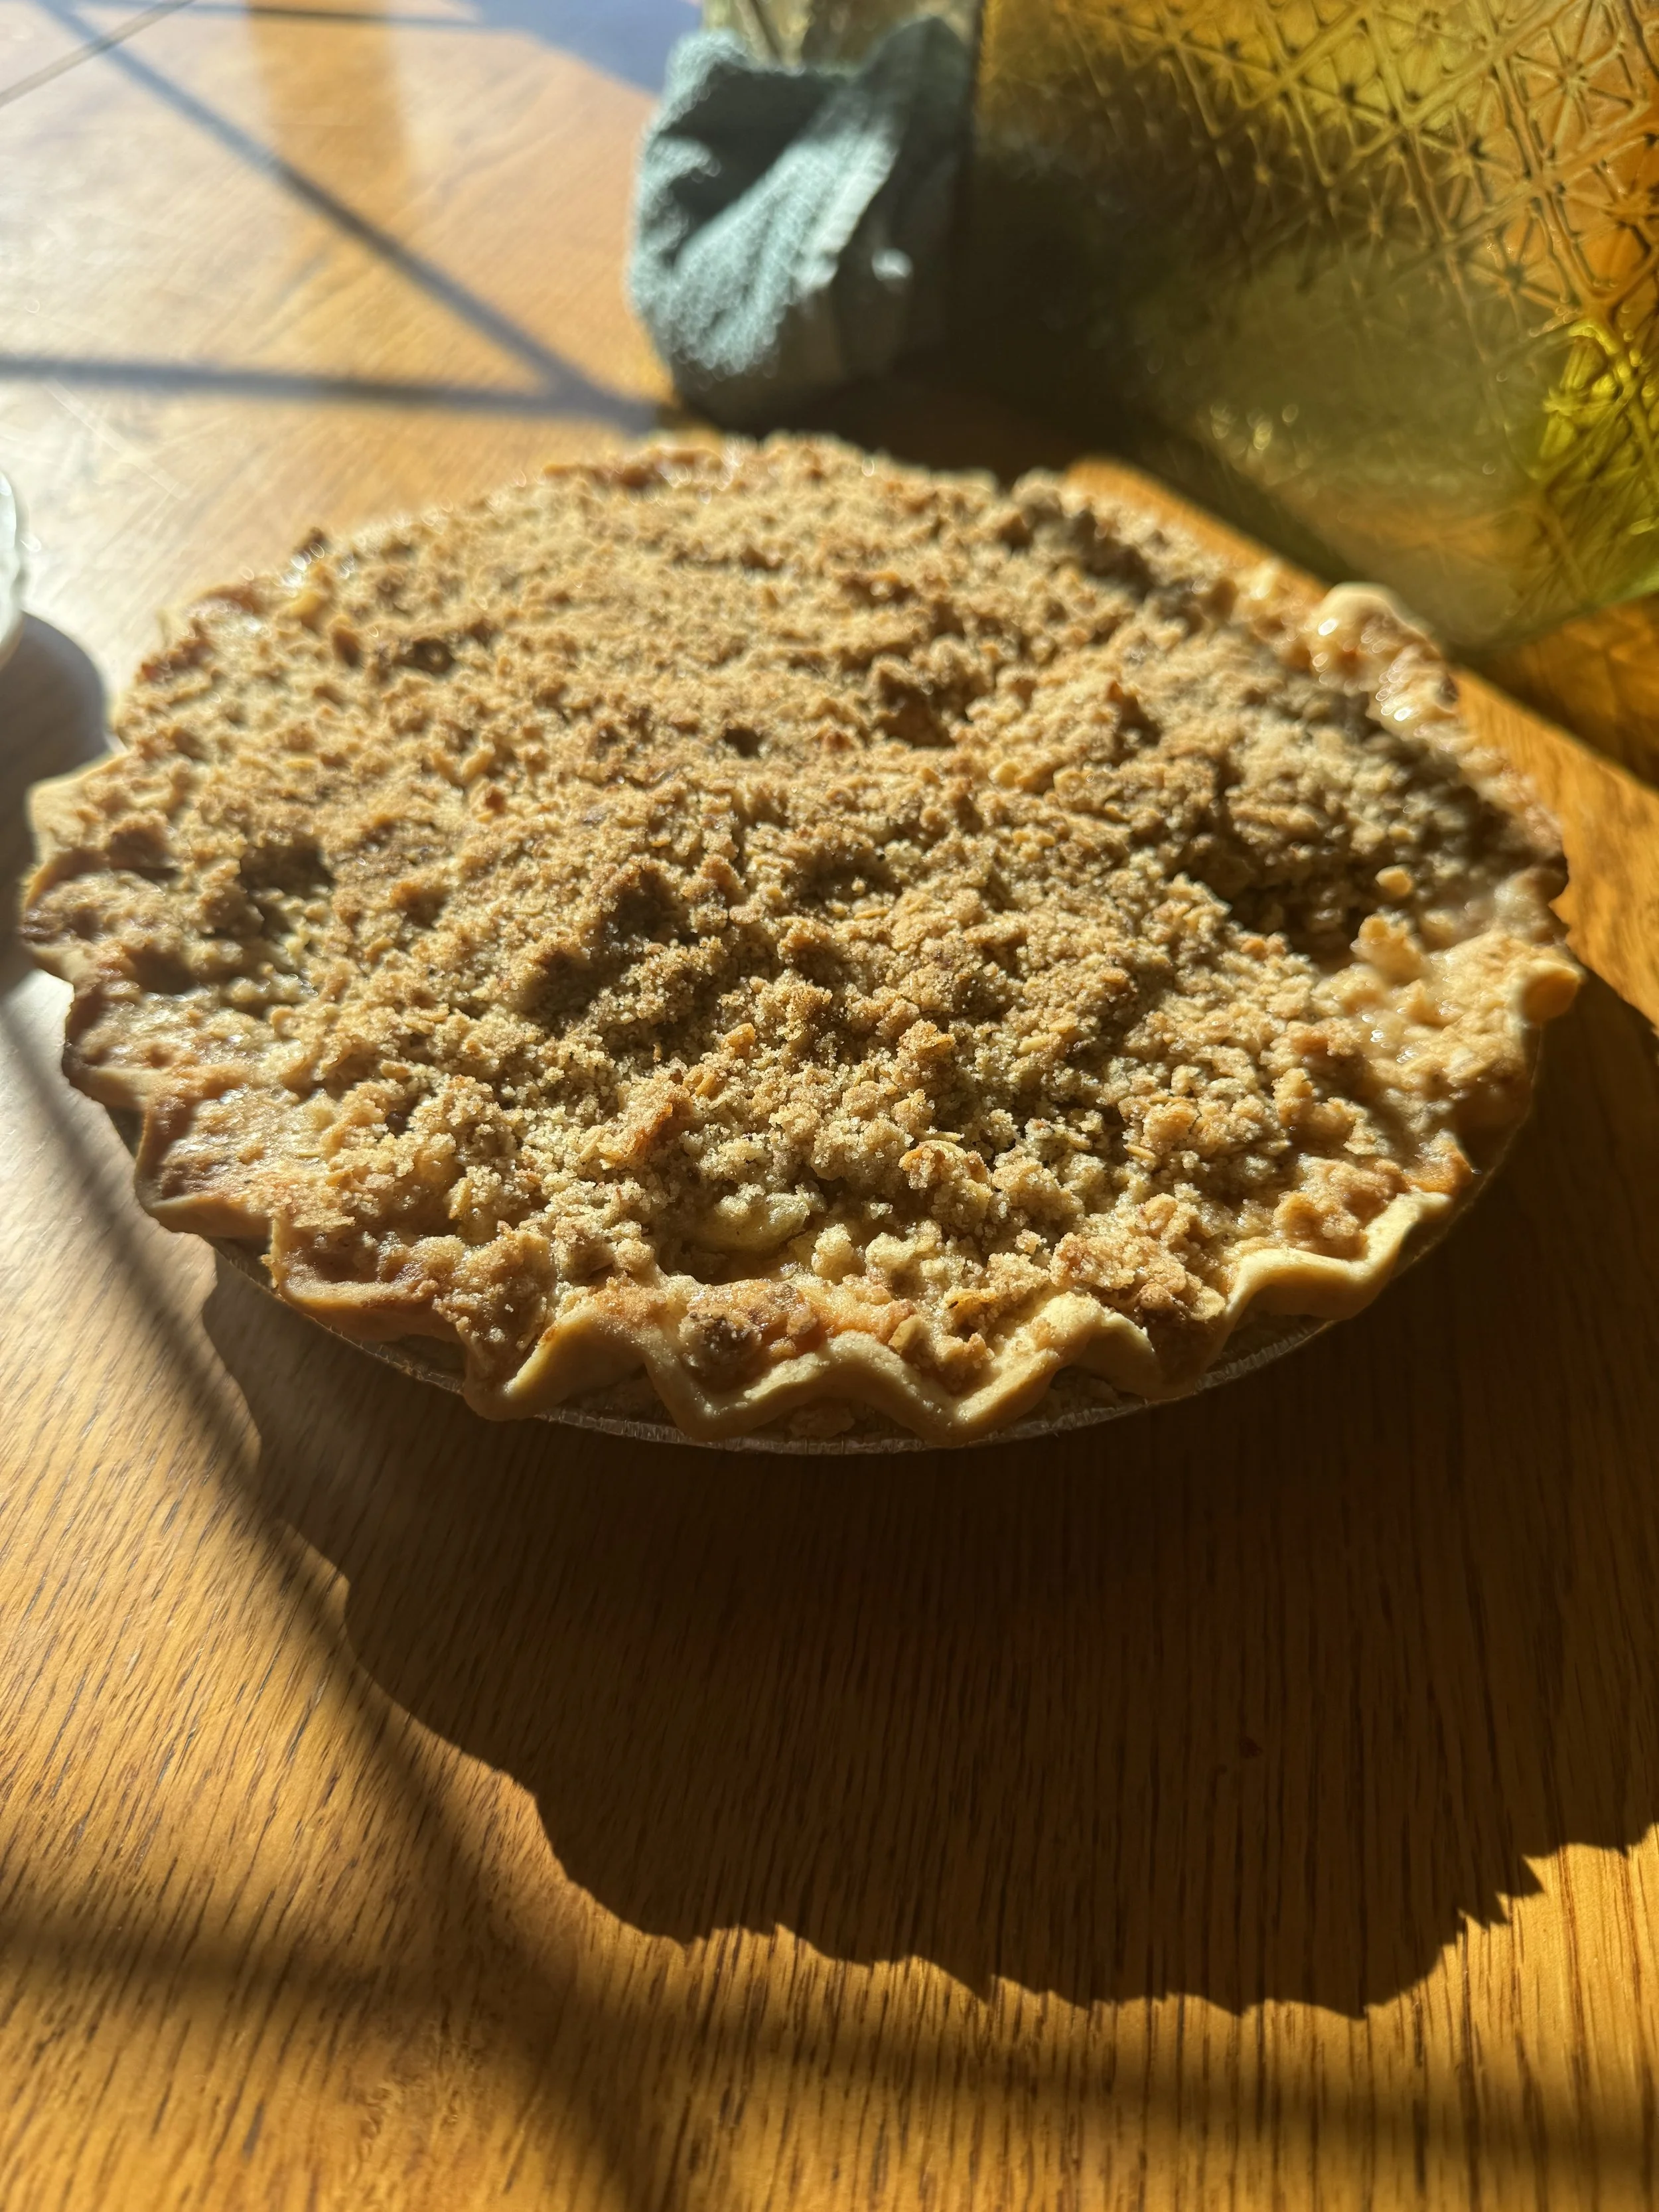
This tart is a mix of everything I love about fall—sweet apples, a hint of warm spices, golden raisins, and crunchy walnuts, all layered beneath a drizzle of honey. And, of course, it’s topped with a sheet of homemade rough puff pastry that turns golden and flaky in the oven. The honey caramelizes as it bakes, creating this incredible, sticky-sweet coating that perfectly complements the apples and toasty nuts. Each bite is a little taste of fall, which exactly what I was hoping for.
If you’re as eager as I am to embrace the season, I hope you’ll give this tart a go. It’s a straightforward recipe that’s big on flavor, and it’s a perfect way to bring that cozy fall feeling into your home. Whether you’re baking for yourself or sharing it with friends and family, this tart is the perfect way to kick off the coziest baking season of all. Happy Baking!
With love,
Your Baker, Hannah
Convinced it’s time for an upside-down tart? Here’s a grocery list of everything you’re gonna need!
Ingredients for Upside-Down Apple Tart:
Cold Salted Butter
All-Purpose Flour
Salt
Iced Water
Honey Crisp Apple
Granny Smith Apple
Brown Sugar
Cinnamon
Ground Ginger
Ground Nutmeg
Walnuts (Chopped)
Golden Raisins
Honey
(To make it even easier, you can hit the “Get Ingredients” button inside the recipe, and these items will be added straight to your shopping cart at the grocery store of your choice.)
Ingredient Substitutions:
Apples: If you don’t have Honey Crisp or Granny Smith apples, you can substitute any tart or sweet apple like Fuji, Braeburn, or Pink Lady.
Butter: If you're looking for a dairy-free option, try using a plant-based butter or margarine, though the texture of the pastry may vary slightly.
Walnuts: Pecans or almonds are great alternatives for walnuts, adding a similar crunch.
Golden Raisins: Regular raisins, dried cranberries, or chopped dried apricots would work just as well if you don’t have golden raisins.
Honey: Maple syrup or agave syrup can replace honey if you prefer a different flavor or need a vegan substitute.
What Tools Do You Need for Your Upside-Down Apple Tart?
Click the links below to shop for any kitchen tools you may be missing from your collection!
(These links are affiliate links, and if you decide to make a purchase, I will be granted a small commission at no extra cost to you. I’ll always be thankful for your support!)
Shop My Kitchen Tools Here:


Step-By-Step Summary for Baking Your Upside Down Tart:
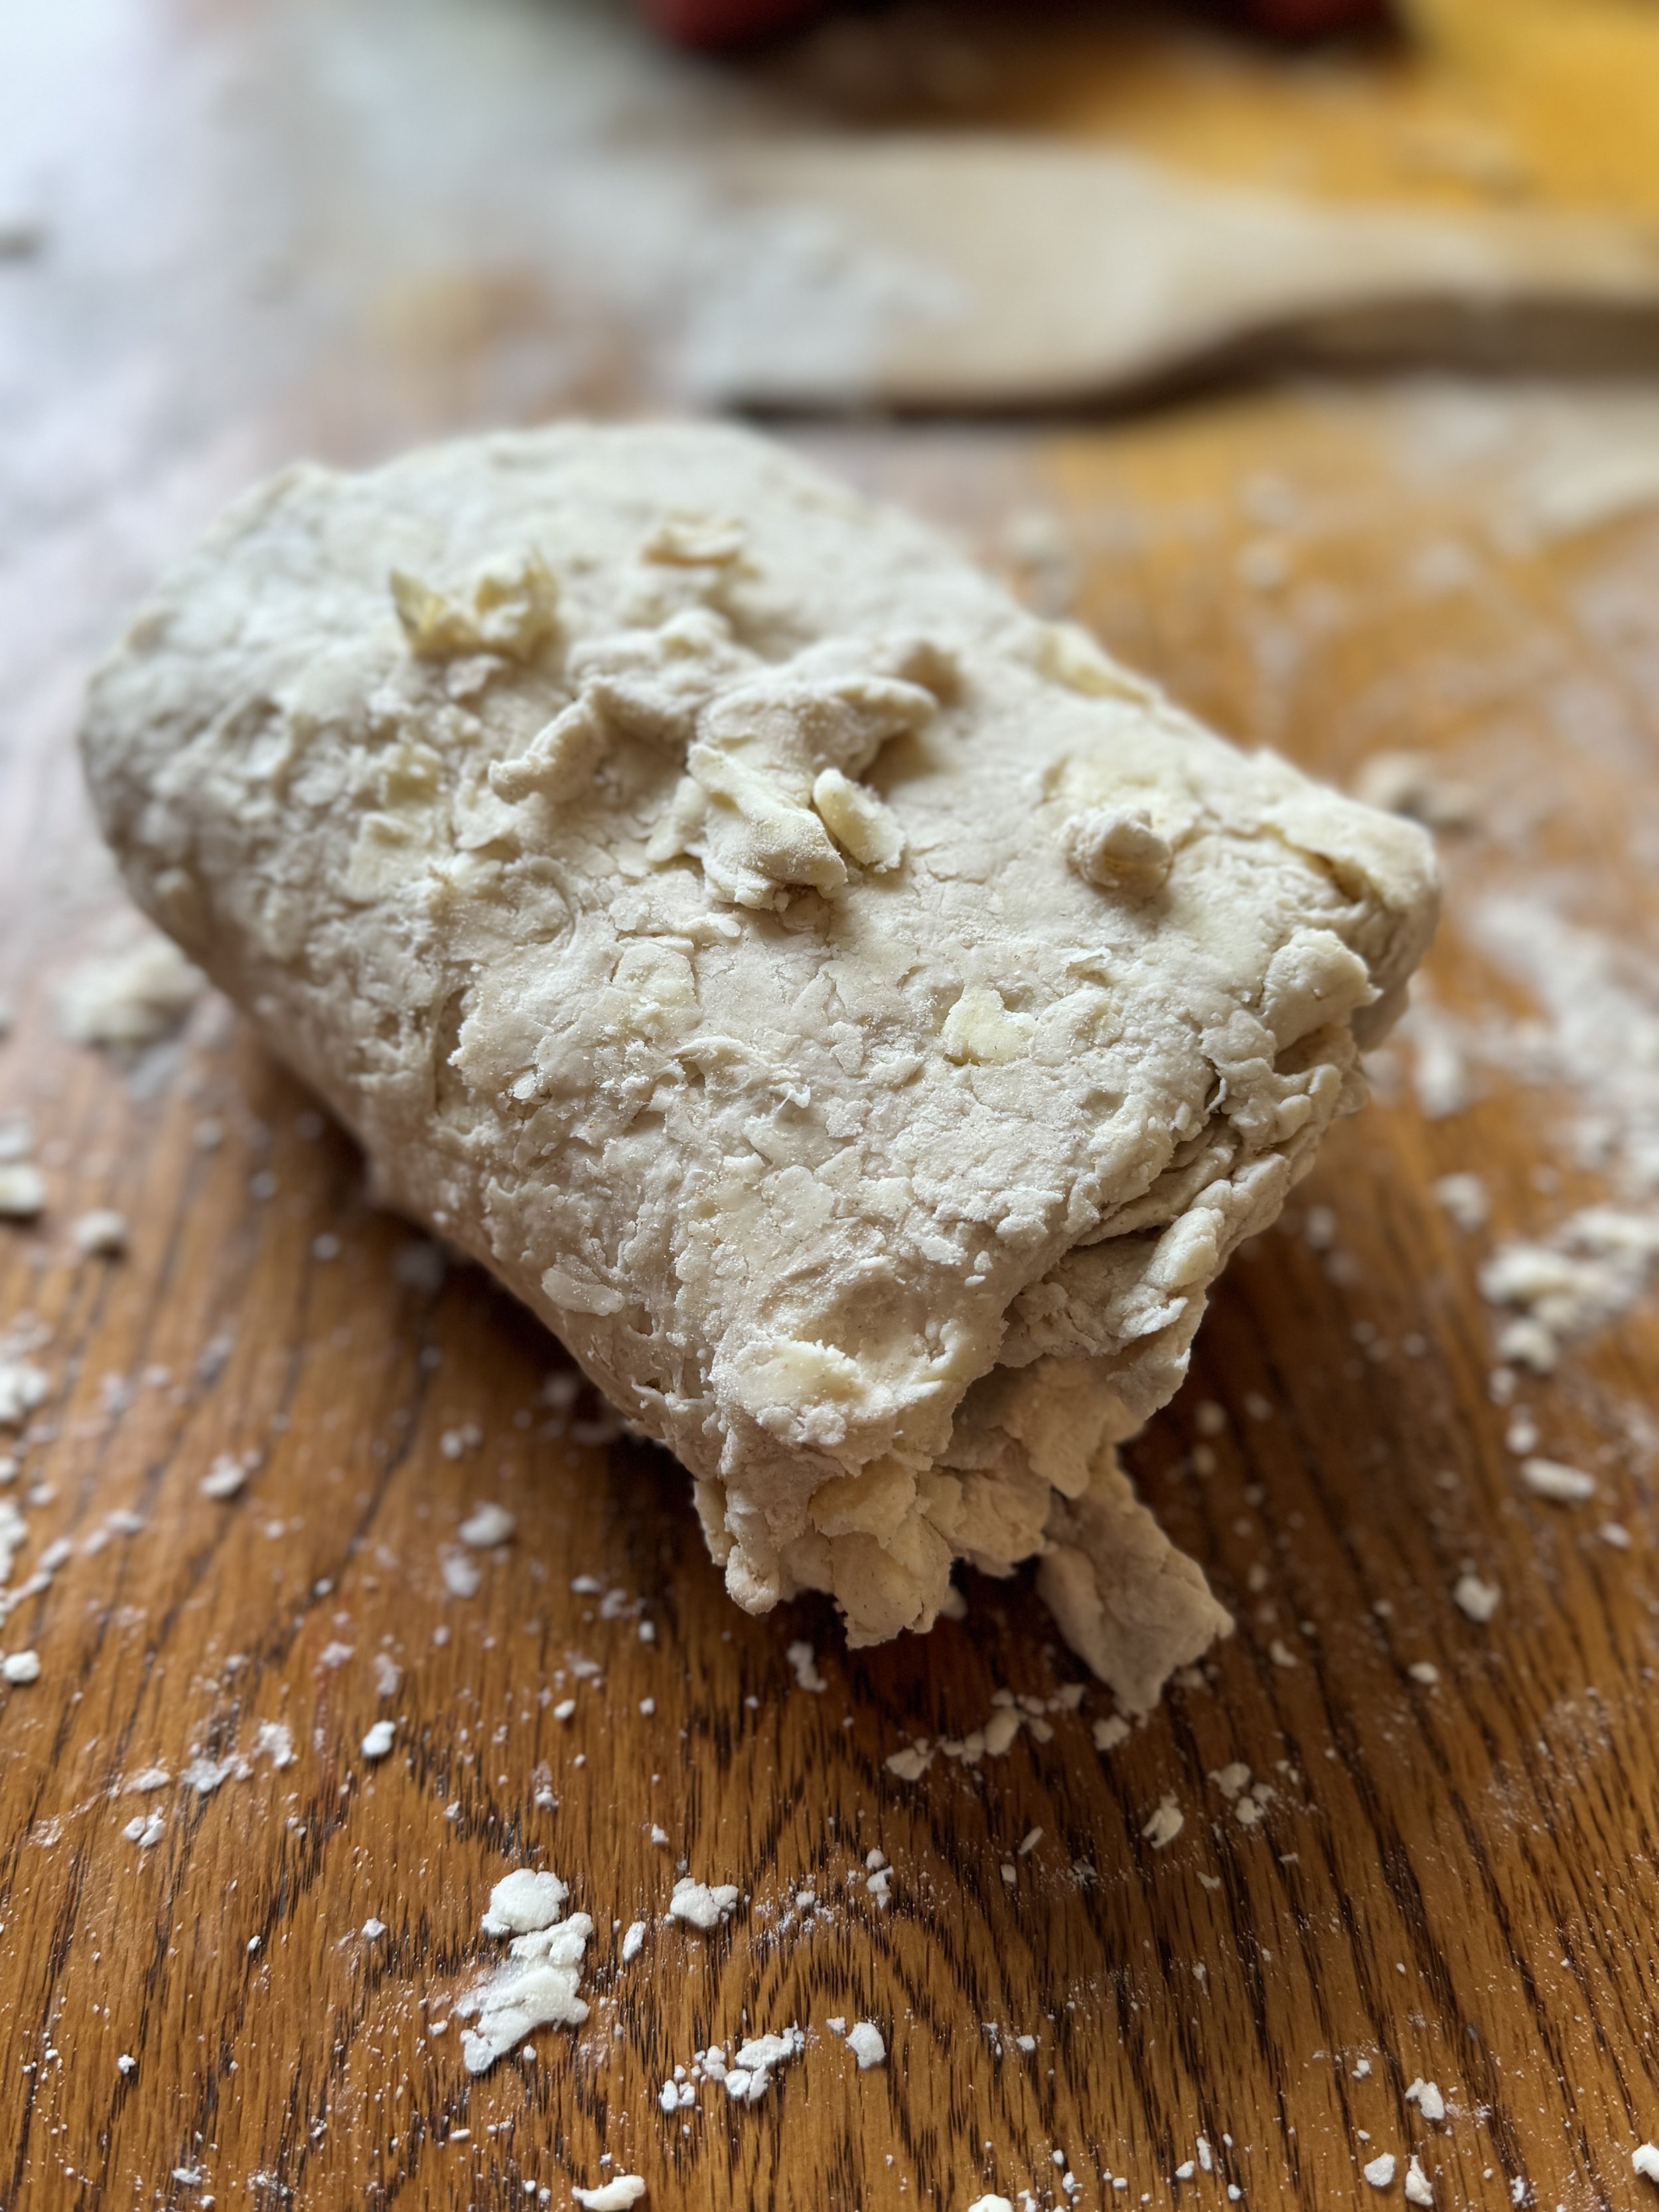
This Upside Down Apple Tart begins with a rough puff pastry made by working cold butter into all-purpose flour and salt. The dough is rolled, folded, and chilled to create a flaky texture with visible butter layers.
While the dough is chilling, prepare the apple filling by slicing a mix of Honey Crisp and Granny Smith apples and tossing them with brown sugar and warm spices like cinnamon, ginger, and nutmeg. The filling also includes chopped walnuts and golden raisins to add texture.
For assembly, drizzle honey on two parchment-lined baking sheets, arrange the raisins, layer the spiced apples, and sprinkle the walnuts. Then, lay the puff pastry over the apples and bake at a high temperature, turning the sheets halfway through for even browning. After baking, the tarts are flipped upside down to reveal the caramelized apple top, ready for serving.
FAQs About Making Rough Puff Pastry
What’s the difference between rough puff pastry and traditional puff pastry?
Traditional puff pastry requires a more meticulous process of folding butter into the dough. Rough puff pastry, on the other hand, is quicker and involves mixing chunks of butter into the flour, then rolling and folding it multiple times. It’s easier for home bakers but still produces a beautifully flaky crust.
Why is my dough not coming together?
It might feel crumbly at first. Gradually add more ice water until the dough starts to hold together when pressed. The goal is to add enough moisture without making the dough sticky.
Can I make rough puff pastry ahead of time?
Yes! You can prepare the dough up to 2-3 days in advance and keep it wrapped in the fridge. You can also freeze the dough for up to 2 months. Just thaw it in the fridge overnight before using.
How to Prevent Your Upside Down Tart from Burning
To prevent your tart from burning, especially the edges of the puff pastry, keep an eye on your oven temperature and rotate the baking sheets halfway through the baking time. If your oven runs hot, try reducing the temperature slightly (to around 375°F) after the first 10 minutes. Additionally, avoid over-baking; once the pastry turns golden brown, it’s done.
How to Store Your Baked Tart
Once baked and cooled, you can store the Upside Down Apple Tart in an airtight container at room temperature for up to 2 days. For longer storage, refrigerate it for up to 4 days, though the pastry may lose some of its crispiness. If you need to freeze it, wrap it tightly in plastic wrap and aluminum foil, and it will last in the freezer for up to 2 months. To reheat, bake it in a low-temperature oven until warm and crispy again.
Recipe for Upside Down Apple Tart:

Upside-Down Harvest Apple Tart
Ingredients
Instructions
- Start by cutting your cold butter into small cubes and placing them into a large mixing bowl.
- Into the bowl, add your flour and salt and use your fingers to lightly toss the butter into the flour, coating it completely.
- Once coated, using your fingers or a pastry blender, begin cutting the butter into the flour (breaking it up into smaller pieces and mixing it well into the flour). Work the butter into the flour until you are left with medium-to-large sized chunks of butter left, about the size of a lima bean.
- Next, gradually begin adding ice-cold water, stirring with a fork until the dough starts to come together. It should look rough and slightly crumbly (but not too dry).
- Once the dough begins to come together, turn it onto a floured surface and gently press it into a rough rectangle.
- Next, using a well-floured rolling pin, roll the dough into a long rectangle (don't fret if it doesn't want to stay together too well. Just trust the process), about 1/4 inch thick. Next, fold your rectangle into thirds, like a letter, then turn it 90 degrees and repeat the rolling and folding process two more times.
- Once the rolling and folding process has finished, the dough should have come together into a solid crust, with visible patches and swirls of butter throughout.
- Next, cut the dough in half to make 2 crusts, and wrap both pieces of dough in plastic wrap to chill in the fridge for at least 30 minutes.
- While the dough is chilling, begin working on your filling.
- To make your apple filling, begin by slicing your apples into thin, half-moon shaped slices. (I prefer to leave the skins on for color, but feel free to peel them off first).
- Once the apples are sliced, place the slices into a small bowl and toss lightly with the brown sugar, cinnamon, ginger, and nutmeg.
- Once the apple filling has been mixed well, set it aside and begin assembling your tart.
- Start by preheating your oven to 400 degrees.
- To assemble your tart, start by rolling out both halves of your dough into rectangles that roughly measure 12 inches long by 6 inches wide.
- Once rolled out, set aside and grab 2 9x13 baking sheets. Line the baking sheets with parchment paper, and lightly grease both pieces of parchment with butter.
- Next, drizzle 2 Tablespoons of Honey directly onto each parchment-lined baking sheet (1/4 all together), and spread it into a roughly 9 inch long by 4 inch wide rectangle on each sheet (slightly smaller than your puff pastry dough).
- Once your honey has been spread, evenly distribute half of your raisins over each rectangle of honey in whatever pattern you like (using all of the raisins between the 2 baking sheets).
- Next, begin layering your apples over the raisins on each sheet in whatever pattern you like (I prefer layering them like shingles on a roof, where they are slightly overlapping, but you can still see the color of the peel).
- Once the apples have been laid down, sprinkle them with the walnuts, and cover them with your 2 sheets of puff pastry (one for each tart).
- Once the puff pastry has been laid, place the baking sheets into the oven on separate racks, and bake them for 10 minutes.
- Once the 10 minutes have passed, rotate the baking sheets in the oven, switching which rack they are baking on, and continue baking for another 10 minutes, or until the puff pastry is golden brown and flakey.
- Once the tarts have baked, remove them from the oven and allow them to slightly cools for 3-5 minutes (you don't want them to cool all the way in case any caramelized honey causes them to stick to the parchment).
- Once slightly cooled, using a cooling rack, flip the tarts so they are face-side up and you can see their beautiful apple filling. Remove the parchment, and allow to cool to your desired temperature before slicing and serving!
More with Pie Crust:


Now Available: